Quick holiday cookies

If you’re like me, you may have a million things to do between balancing a working life with your social life. You do not want to show up anywhere empty handed, but you also do not want to bring a package of Oreos to your next get together.
Problem solved.
I’ve been making these cookies for the past couple of years and they are always a hit. The best part is, they are fairly inexpensive to make and they are not very time consuming.
Supplies you need:
– Package of peanut butter cookie mix (I used Betty Crocker brand which you can get for around $2)
– Ingredients listed on the back of your cookie mix (i.e.: eggs, vegetable oil)
– Reese’s Peanut Butter Cups (I purchased the party size bag for $8 because I’ve learned that a small bag often leaves you short)
– Mini muffin pan
– Parchment paper
– Cooling rack
Directions:
1. Preheat your oven to 350, or as directed on your cookie mix package.
2. Use the instructions on your cookie mix package to mix everything correctly.
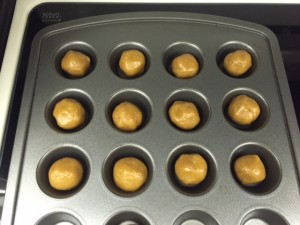
3. Gently roll the peanut butter cookie mix into little balls and place them, individually, into the mini muffin pan.
4. Place the cookies in the oven for eight minutes. While they are cooking, begin unwrapping some of your Reese’s. (Tip: I keep my Reese’s in the refrigerator until I am ready to unwrap them because it makes them a lot easier to work with when they are not melting all over.)
5. When your timer goes off, remove the mini muffin pan from the oven. Your cookies will look like the photo below.
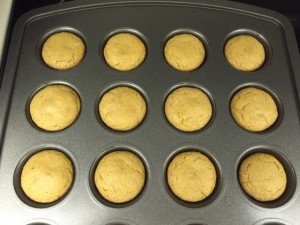
6. Begin placing your Reese’s cups into the cookies while they are still in the mini muffin pan. (Tip: If you begin to unwrap your Reese’s now, the cookies will begin to firm up by the time you get to the last bunch which causes you to have to push harder on the Reese’s cup and it can be messy.)
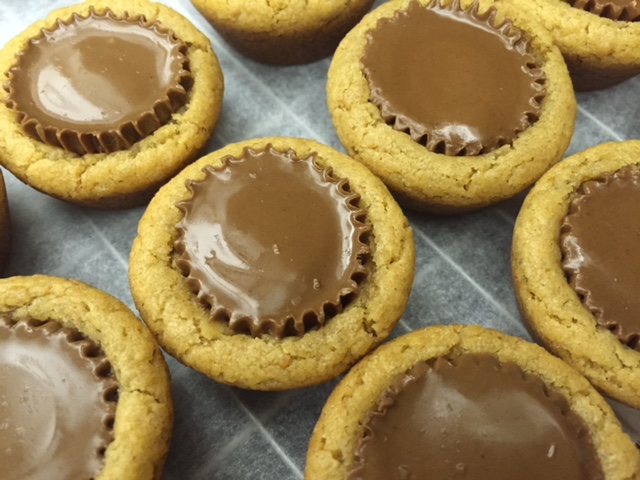
7. When you have placed the last Reese’s cup in the cookies, take a little baby spoon or something that you prefer to work with and begin gently lifting the cookies out of the pan. This can be hard if you use a regular sized spoon because it can tear the cookie apart and cause the chocolate to run all over the place. Be careful of the Reese’s cup when you are popping the cookies out because it will be quite liquified from being exposed to the heat. You can place the cookies on your cooling wrap on top of the parchment paper to cool.
8. The Reese’s cups can take awhile to firm up again. If you prefer not to wait because you need them quickly, you can place them in the refrigerator to speed up the process.
I made two packages of peanut butter cookie mix and it yielded me 75 cookies. All together, it took me an hour to make all of those cookies using one 24-count mini muffin pan. (That of course does not include the time I let them cool for).