You may have attended or know someone who has attended one of the trendy wine and painting classes that have been popping up and spreading like wildfire. I have to admit that at first I didn’t get the concept. Then, however, I saw multiple friends posting pictures of their artistic renderings that looked–to my eyes–pretty darn professional. So, I decided that I wanted to take a class.
My friend Amanda LOVES The Nightmare Before Christmas and found a location that was going to create a special Jack Skellington painting for the Halloween timeframe. I quickly volunteered to be her date.
I documented some of the different stages that we did for the painting so maybe you can try to replicate it at home, or see why exactly the classes take two hours to complete–there are a lot of steps!
Before we started, the teacher announced a social media contest. Well, being a social media professional I needed to participate. It turns out other people have friends who are much quicker at liking their images haha. That’s cool though because mine still had about 50+ likes in the time frame they gave us to collect in. My photo got third place which was still good enough for a prize. I won a t-shirt of Jack’s head and passed it to Amanda.
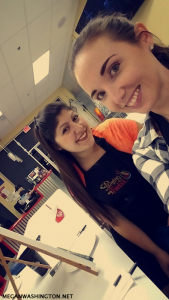
Obviously, you start with a blank canvas. This is probably the most confident you’ll be during the entire process because you haven’t had the opportunity to mess anything up that isn’t really fixable. This particular place had a plate filled with all of the paint we would need for the project right under our canvas, with brushes and a giant water cup set up to our side.
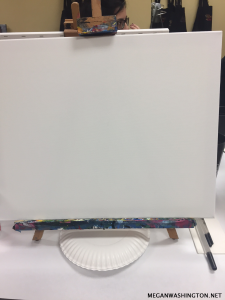
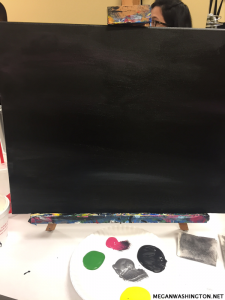
Our first mission was to cover our canvas completely with black paint. Amanda’s words were something along the lines of, “Uh oh.” I don’t think that’s ever anything good when you’re dealing with paint haha. She thought she had splattered paint on me but looked me over and didn’t. I was pretty stoked to be paint-free but at the same time had planned that it may get messy so I wore a white tank and black yoga pants.
After painting the canvas black, we were told to lightly blend some pink into the sky and some silver toward the bottom to help with the contract of Jack’s arm when we got further along.
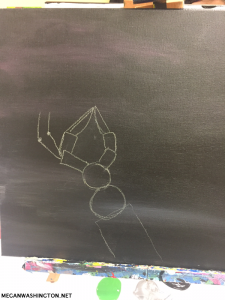
The teacher then came around and handed everyone some chalk so we could draw on our canvas. Though, we first had to use a blow dryer to get our paint to dry enough for us to draw on it without essentially getting ruined. With the chalk, I drew this robot looking hand.
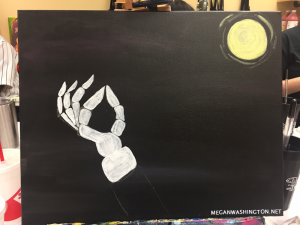
After we drew the claw like thing–which is Jack’s skinny little arm–we filled it in with some white paint. You can see that the chalk outlines are still present, but that’s okay because you’re able to easily brush them off once you’re finished using them as guides–which is why it was important for the paint to be dry on the canvas before using the chalk. Also… at some point we added in that yellow moon by mixing the yellow and white paint together to get a less vibrant yellow.
Next, we added some shading to the hand to make it a little less flat looking. To do this, we mixed the black and white to get a desirable gray color.
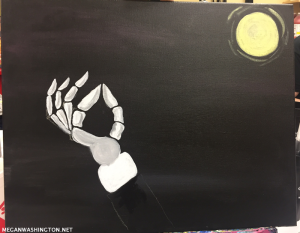
Add some snow! I tried to make mine more swirly at the bottom but the swirl kinda got lost and morphed into a huge blob. Then we also created the twig between Jack’s fingers which would later become the mistletoe or tree piece.
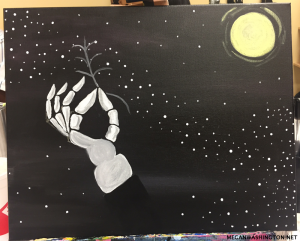
We blended the green and yellow with tiny specs of white to add dimension to the tree.
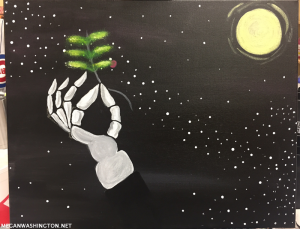
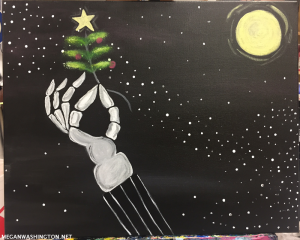
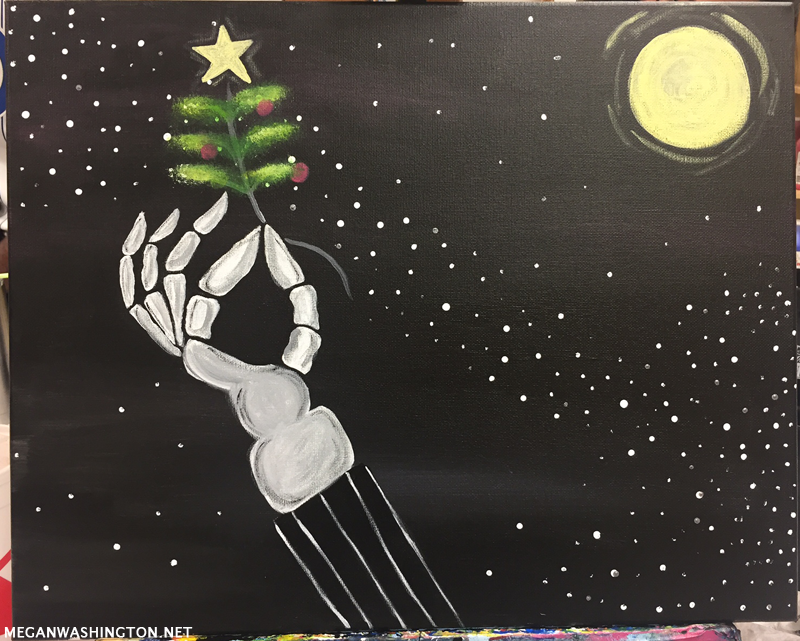
Lastly, we added some pinstripes to Jack’s suite, a star… and I also added some silver snow to try to give my painting it’s own little touch. Be fancy. Have fun. It’s never going to turn out like the instructor’s painting but as long as you enjoy the process–with as little stressing as you can possibly put up with–then your painting will reflect that experience.
I’d totally do it again. I had a great time.
